架設私密DDNS
本文發佈於2129天前,文中的資訊可能已有所發展或是改變,請謹慎使用!
2020年6月22日 update:
由於proxy.golang.org等Go語言官網被牆,導致編譯失敗,因此改用第三方鏡像go env -w GOPROXY=https://goproxy.cn
通過DNS服務商API介面實現
Cloudflare (https://cloudflare.com)
Google Domains (https://domains.google)
DNSPod (https://www.dnspod.cn/)
HE.net (Hurricane Electric) (https://dns.he.net/)
AliDNS (https://help.aliyun.com/product/29697.html)
DuckDNS (https://www.duckdns.org)
客戶端:
https://github.com/TimothyYe/godns
下載源碼編譯32位
set GOARCH=386 #設為x86
go env #檢查是否成功 set GOARCH=386
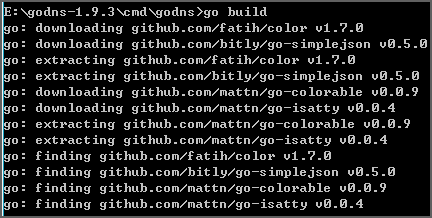
go build
安裝為 Windows service
After creating your config.json file:
Get the latest NSSM for create a windows service.
nssm install YOURSERVICENAMEYou will have an interface to configure your service, it is very simple in the "Application" tab just indicate where your godns.exe file is. Optionally you can also define a description on the "Details" tab and define a log file on the "I/O" tab.
安裝完成後啟動服務
net start YOURSERVICENAME卸載服務:
nssm remove YOURSERVICENAME